![]()
DPS923 & MAP523
Mobile App Development for iOS
Notes Topics Weekly Resources Graded work Professor Code examplesPhoto library and camera intro
Our recent theme is to learn about user interface (UI) objects that are created with code, instead of being created in the visual interface builder editor.
The iOS photos library and the camera are features that are also created in code, and this is an introduction.
Getting started
Create a new project, based on the single-view template. Edit its main storyboard.
Add a button, using the UI object picker. Then, create an action. The button will enable the user to use the photo library or camera.
Add an image view, using the UI object picker. Then, create an outlet. The image view will eventually display the selected photo from the library, or the camera photo.
Make sure the app builds and runs successfully.
Prepare the controller
We will use an instance of UIImagePickerController to do both tasks - access the photos library, and use the camera.
Please note that the iOS Simulator app does NOT have access to the camera. It will work only with the photos library.
Install-and-run the app on a device (e.g. iPhone) to use the camera.
The hosting controller must adopt both the
UIImagePickerControllerDelegate and UINavigationControllerDelegate protocols. Add those now to the class declaration.
Why
UIImagePickerControllerDelegate?
It has two methods that we need:
imagePickerController(_: didFinishPickingMediaWithInfo:)
imagePickerControllerDidCancel(_:)
Why
UINavigationControllerDelegate?
The image picker inherits from the nav controller base class.
This fact requires that our host controller adopt the delegate protocol, although we will not use any of its methods.
Button-handling
In the button-handling action method, add this code block:
// Create the image picker controller
let c = UIImagePickerController()

// Determine what we can use...
// Prefer the camera, but can use the photo library
c.sourceType = UIImagePickerController.isSourceTypeAvailable(.camera) ? .camera : .photoLibrary

c.delegate = self
c.allowsEditing = false
// Show the controller
present(c, animated: true, completion: nil)
Build and run. Notice that the image picker will appear. Nothing happens after that, however, because we need to write some code to handle user interaction events.

Methods that handle the image-selection or photo-taking
In the simplest situation, we need methods that will handle two interaction events:
- The user taps the “Cancel” button
- The user taps/selects/picks a photo
Here are the methods:
// Cancel handler
func imagePickerControllerDidCancel(_ picker: UIImagePickerController) {

    dismiss(animated: true, completion: nil)
}

// Pick/take handler
func imagePickerController(_ picker: UIImagePickerController, didFinishPickingMediaWithInfo info: [UIImagePickerController.InfoKey : Any]) {

    // Attempt to get the image from the "info" object
    if let image = info[.originalImage] as? UIImage {

        // If successful, display it in the UI
        photoResult.image = image
    }

    dismiss(animated: true, completion: nil)

}
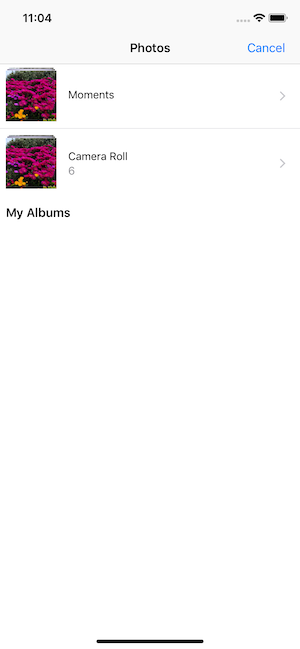
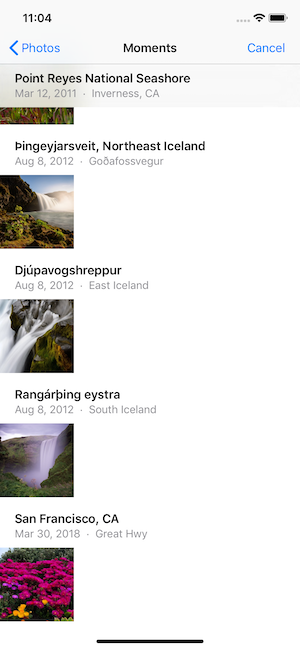
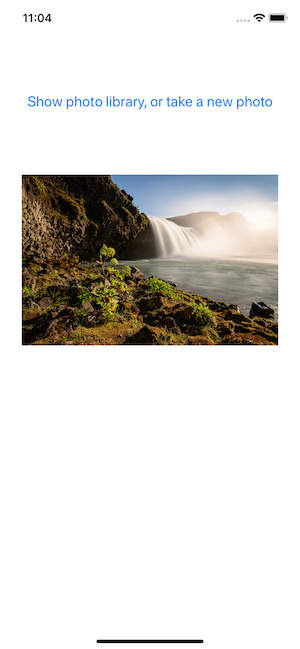
Build and run in the iOS Simulator. The selected photo should appear on the app:
Run it on a device
Soon, your professor will teach you how to use a device with Xcode, and deploy your app to the device
When you run the app on a device, it will crash, and show an error message in the Xcode debug console:
2019-09-20 11:06:03.989700-0400
PhotoCameraPlay[10764:5124242] [access]
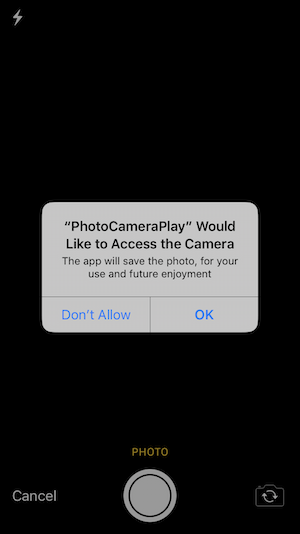
This app has crashed because it attempted to access privacy-sensitive data without a usage description.
The app's Info.plist must contain an NSCameraUsageDescription key with a string value explaining to the user how the app uses this data.
We need the device user’s permission to use the camera. This is an iOS security feature, and it is common to many tasks that wish to use the device’s hardware and iOS system services capabilities.
How do we get permission?
We follow the instructions above, and edit the app’s info.plist file, to add another key-value. Open that file in Xcode for editing.
In an open area, right-click an open/unused area, and select “Add Row”.
The key name will be:
Privacy - Camera Usage Description
The value, a string, will be something that you want displayed in the alert. For example:
The app will save the photo, for your use and future enjoyment
Run the app on the device. This time, it asks for permission: